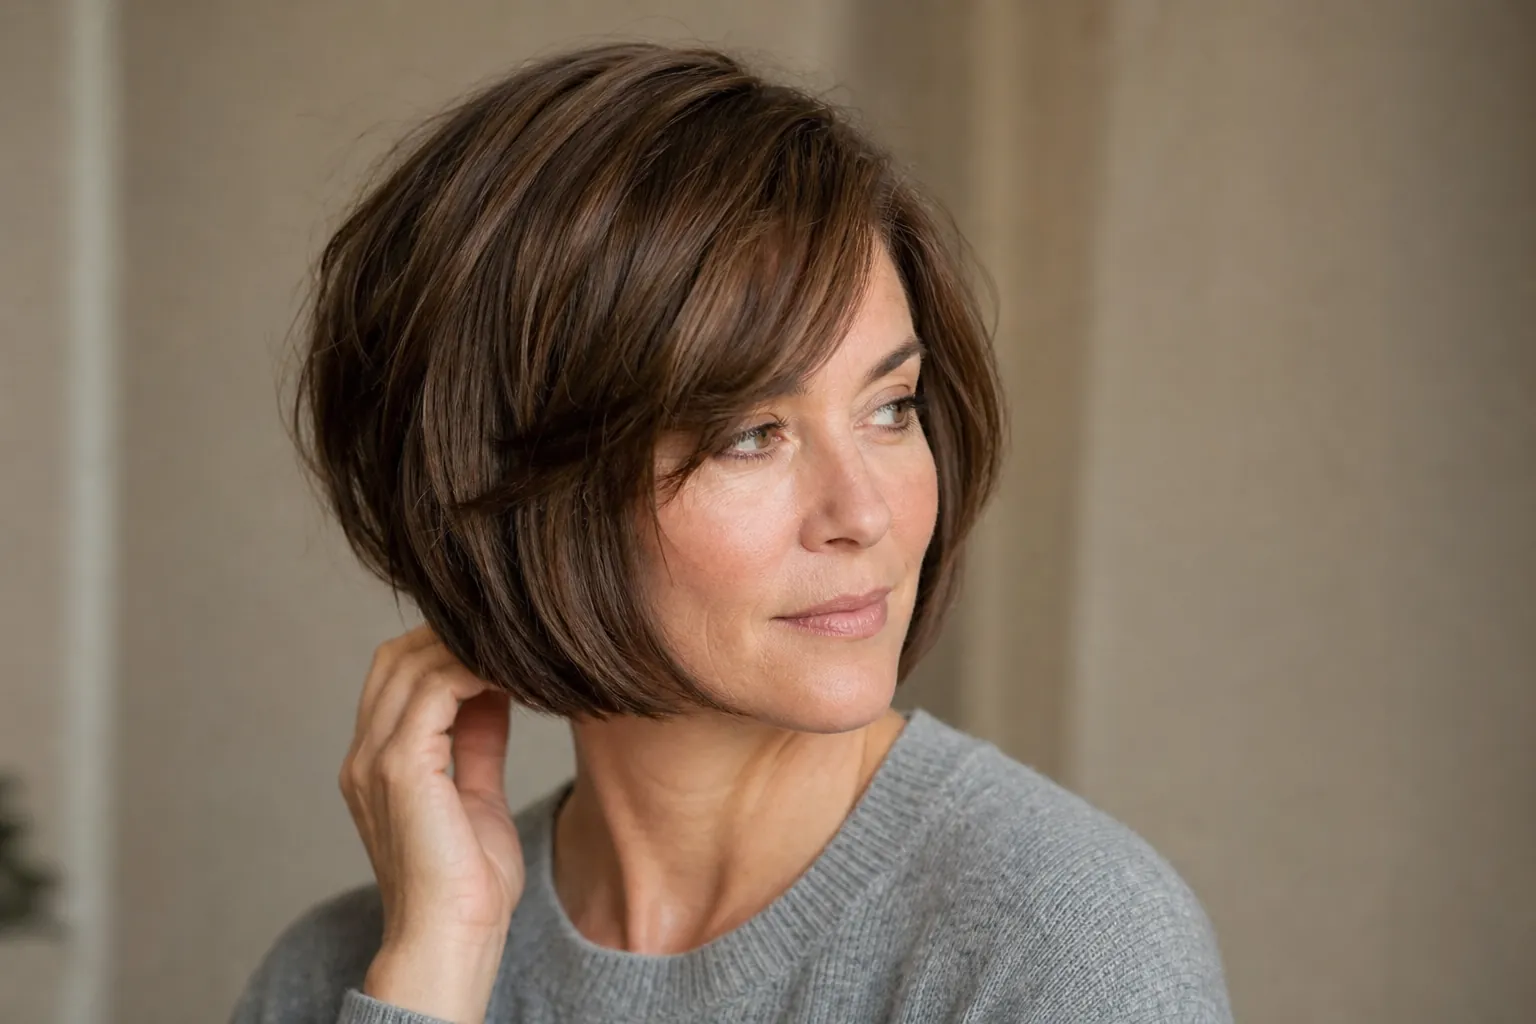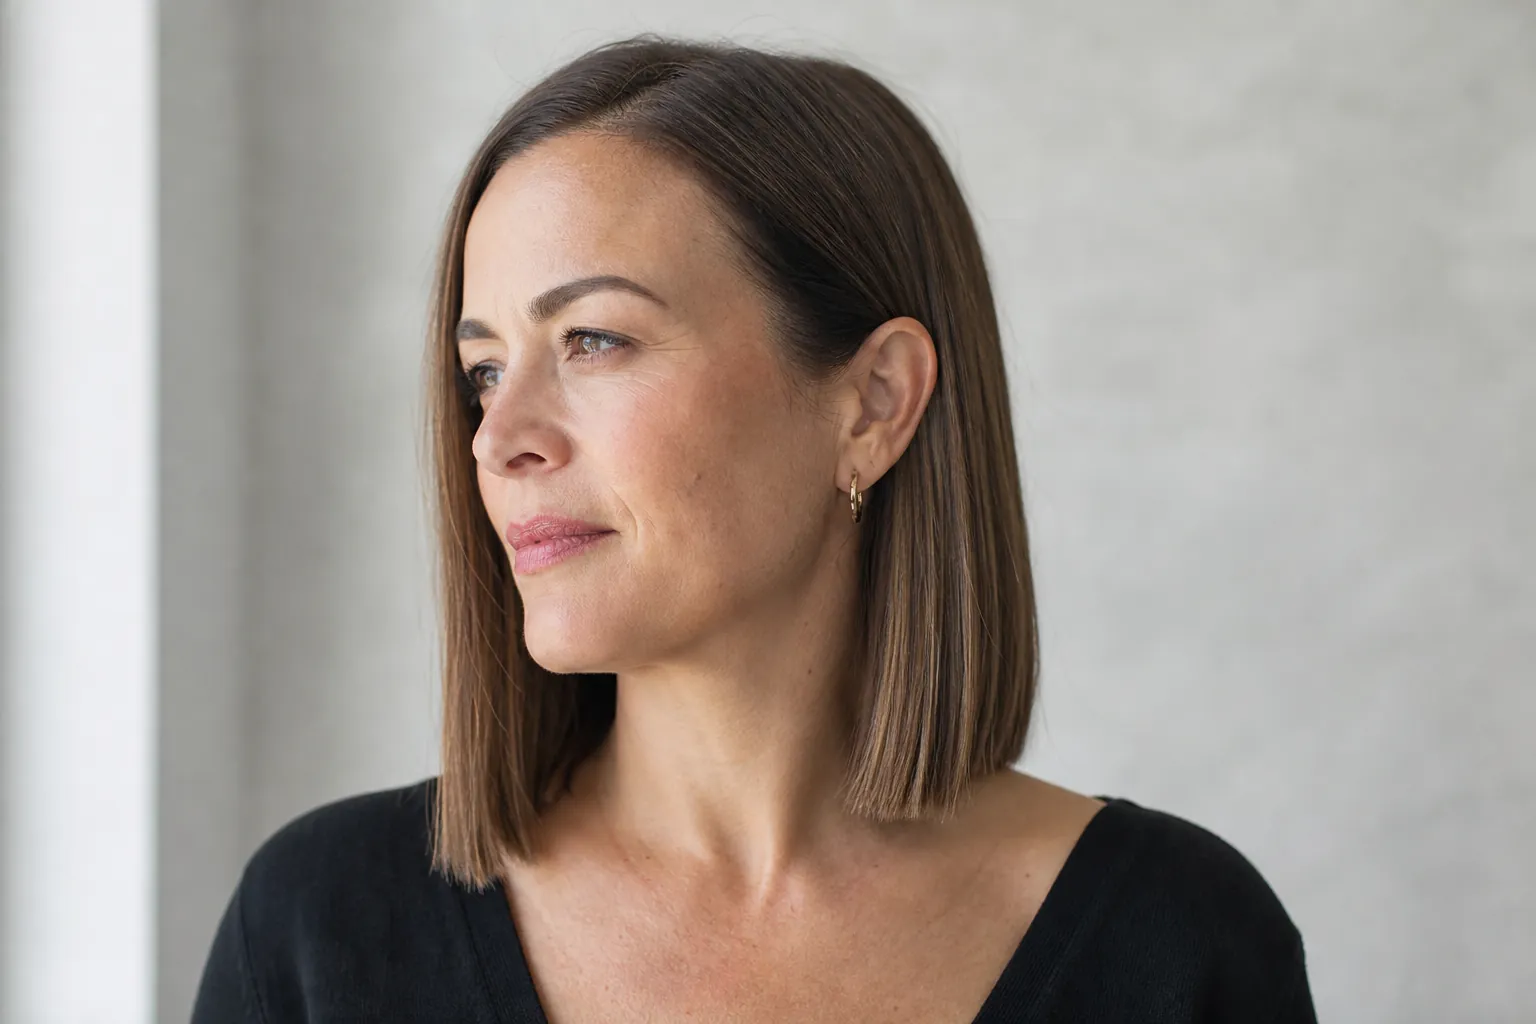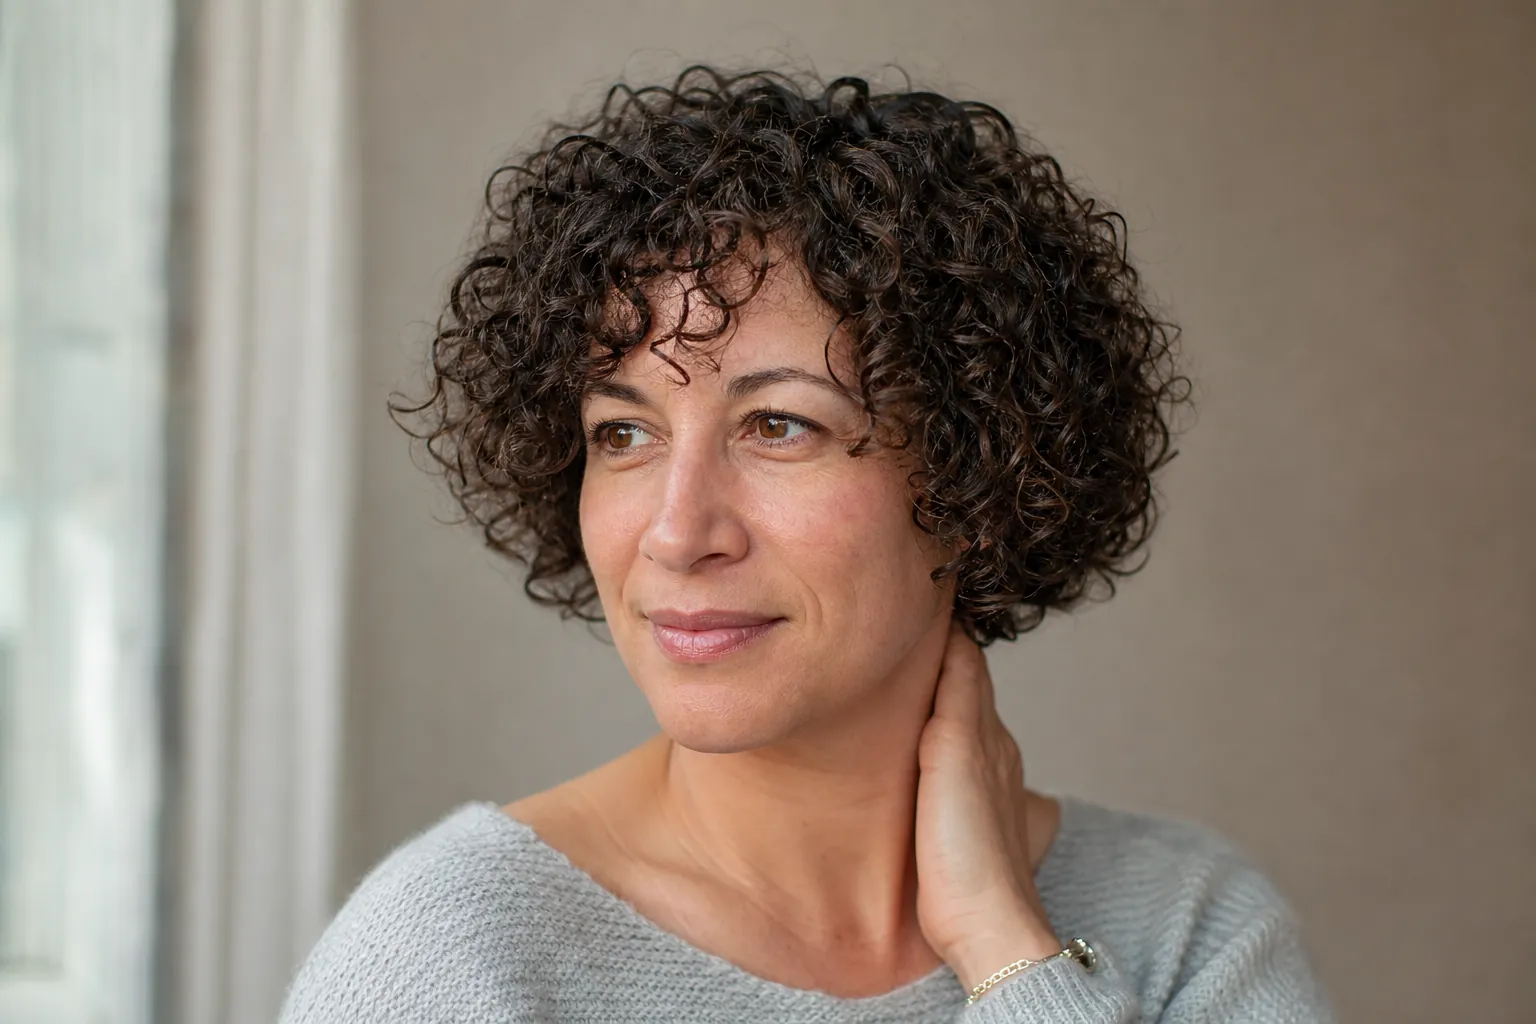
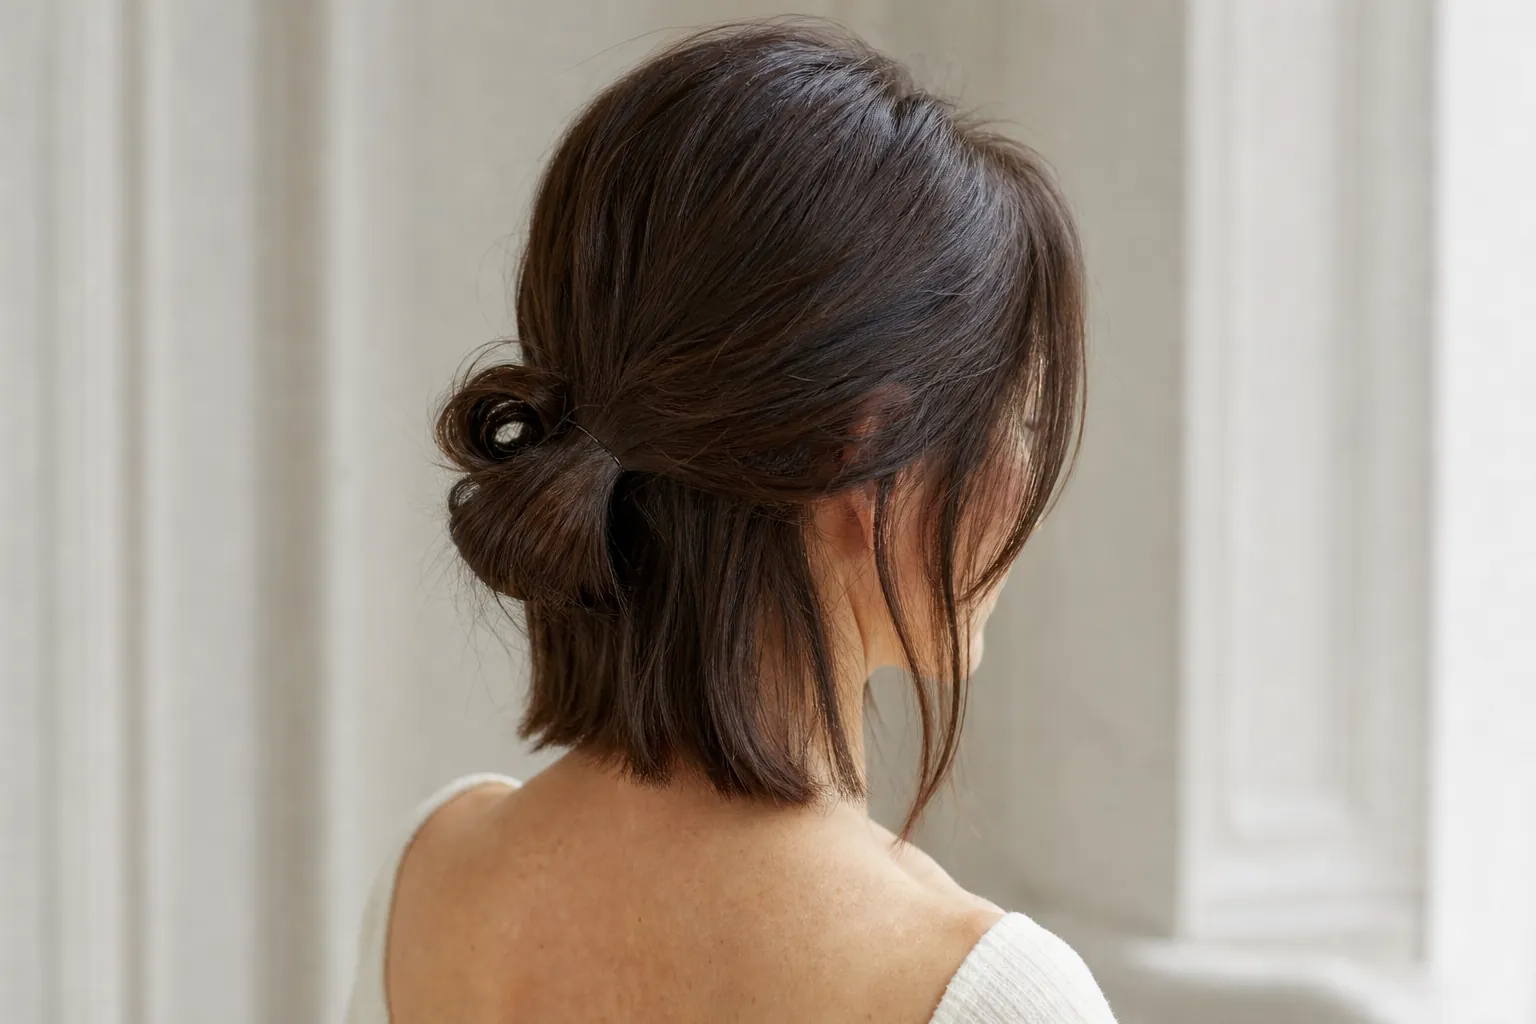
Short version: Updos for short hair start working at about 3 inches on top for a pinned sweep or braid, about 4-5 inches at the crown for a mini bun, and nape hair that reaches the shoulder line for a French twist or a low bun. The twelve looks below are sorted by the minimum length each one needs, with time, difficulty, steps and the texture adjustments for fine, thick, curly and coily hair.
Which Updos for Short Hair Work at Each Length
The length you need depends on whether the hair has to be gathered, twisted or only pinned back, and most short cuts can manage one or two of those. Pinning back needs the least hair, a gathered bun needs enough to loop at least once, and a twist or chignon needs enough to wrap. The table gives each cut's practical minimum, measured from the root with the hair held straight, and the things that cannot be done at that length however many pins are used.
| Cut | Length needed | What works | What cannot be done |
|---|---|---|---|
| Long pixie or bixie | 3-4 in on top and at the temples; sides to the ear | Pinned sweeps, twisted fringes, a short Dutch braid at the hairline, a slicked-back finish | Any bun, ponytail or twist that gathers the back; the nape stays out |
| Chin bob | 4-5 in at the crown; 3 in or more at the nape for a low tie | Mini bun at the crown, half-up knot, twisted sides, low pony with ends tucked, pineapple puff on curls | French twist, low chignon, a bun that holds every strand; a tapered nape will fall out of any low tie |
| Lob | Nape hair that reaches the shoulder line when held straight (about 6-8 in) | Low looped bun, short French twist, braided low pony, pin-curl updo | A tall or voluminous chignon, long braided buns, anything that needs a full braid wrapped around itself |
A tapered or clippered nape changes the picture, because short nape hair does not reach a low tie even when the sides and top do. The nape options on a pixie explain why, and the practical result is that a low updo on a chin bob either needs the nape left a little longer or the nape hair left out on purpose. Anything under about 2 inches will not stay in a pin or an elastic, so plan the style around the longer pieces.
Pins and Tools by Type, with No Brands Needed
Short hair needs smaller pins, more of them and a prepared surface, because a pin on short hair has less hair to grip and nothing to wrap around. The set below covers every look in this guide. Match the pin color to the hair, since short hair shows its pins.
- Standard bobby pins (about 2 in): the workhorse for lob lengths and thick hair. Insert with the ridged side against the scalp and push them in until the bend disappears; a pin half-seated grips with half its length.
- Mini bobby pins (about 1.5 in or shorter): for chin bobs, pixie fringes and fine hair, where a full-size pin pulls out the hair it is meant to hold.
- U-shaped hairpins: for buns and twists, where a bobby pin would flatten the shape. They slide in sideways and hold a loop without squeezing it.
- Covered elastics: small and snag-free. The American Academy of Dermatology lists pulling hair back tightly among habits that damage hair and suggests covered rubber bands made for styling and loosely pulled-back styles instead.
- Rat-tail comb and a teasing comb: the first for clean parts and the nape line, the second for a little grip at the root.
Prepare the hair before the pins go in, and keep every style loose at the root, since the elastic and pins should not pull. Freshly washed short hair is slippery, so most updos hold better on day two, or on clean hair with a few spritzes of dry texture spray or a little dry shampoo at the roots. Smooth hair that will be slicked back needs the opposite, a pea-sized amount of gel or paste warmed in the hands. The same order applies to how to style short hair on any day, texture first and shape second. Texture spray takes 4-8 spritzes on a short cut, and cream a dime to a nickel.
Salon note: Pin in the direction opposite to the one the hair is pulling. If the hair is brushed up and back, the pin goes in pointing down and toward the front, so the hair's own tension locks it in. Two pins crossed in an X hold better than two pins side by side.
Updos for a Long Pixie or Bixie (3-4 Inches Minimum)
A long pixie or bixie cannot make a bun, but it can make a finished, pinned-up shape out of the top and the front. The useful hair is the fringe, the temples and the crown, so these three looks work those areas and leave the back and nape alone. If the top is under about 3 inches, use the pixie cut guide for styling it instead. A bixie, with its longer sides, has the most to work with.
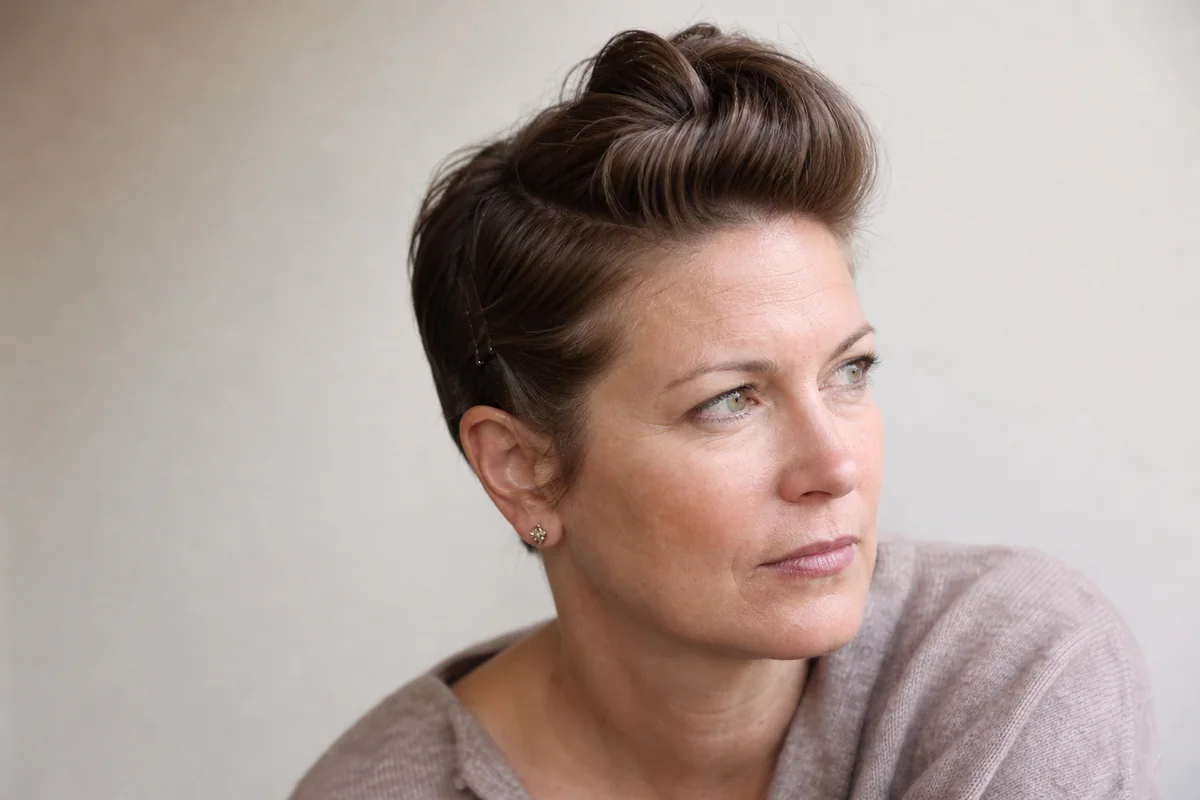
1. Pompadour Twist with Pinned Sides
- Length needed
- 4 in on top, ear-length sides
- Texture
- Straight to wavy; curly with a gel base
- Time
- 5-8 minutes
- Difficulty
- Easy
- Occasion
- Everyday, dressed up with a clip
The shape comes from the front section rolled upward and backward rather than from any one tool.
- Section. Take the front 2 inches from temple to temple and clip the sides away.
- Twist. Twist the front section away from the face, one direction only, and lift it as you turn.
- Pin. Slide two mini pins under the twist in an X, pointing toward the crown.
- Finish. Pin each side back above the ear, then set with a light mist of flexible spray. Common mistake: pulling the twist tight, which flattens the lift.
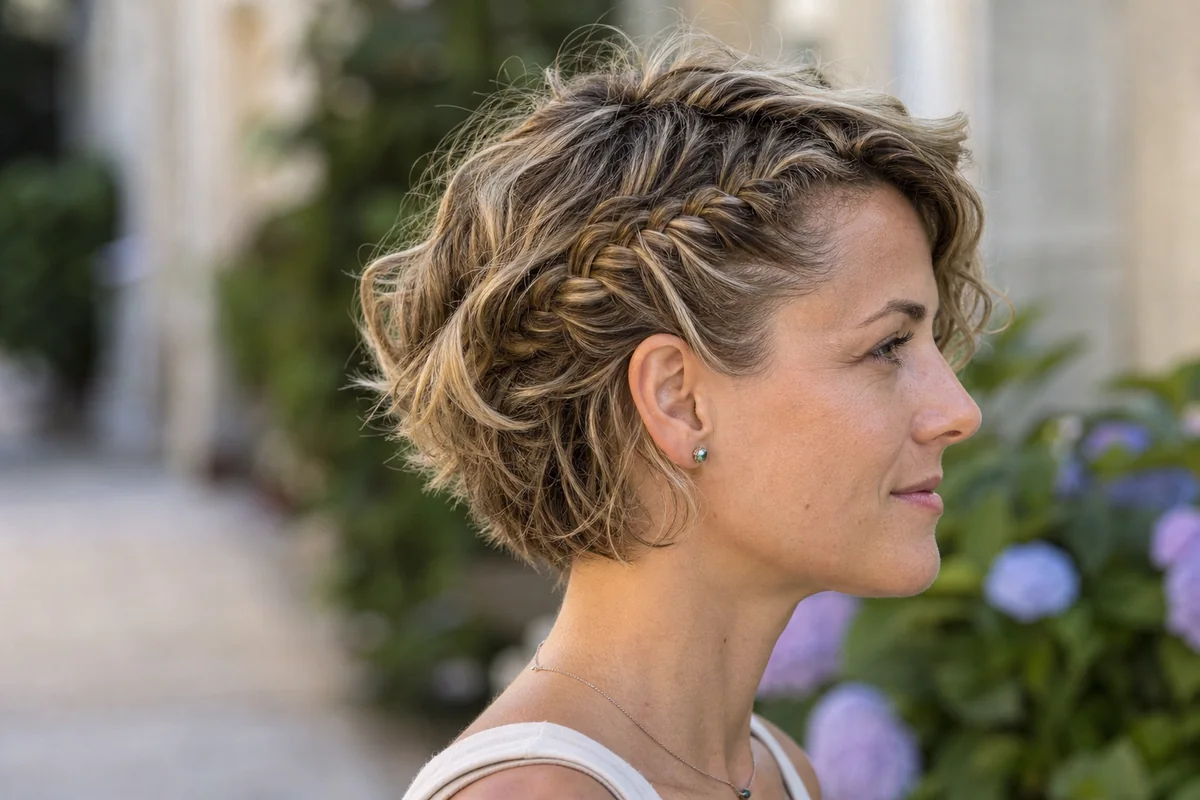
2. Dutch Braid Headband with Free Ends
- Length needed
- 4 in at the temples, 3 in behind the ear
- Texture
- Wavy, curly or coily; fine straight with texture spray
- Time
- 10-15 minutes
- Difficulty
- Moderate
- Occasion
- Everyday or an outdoor event
Braiding short hair is a matter of staying small: a Dutch braid, with each section crossed under the braid, sits on top of the head and looks fuller than it is.
- Start. Begin with three thin strands just above one temple, about the width of a pencil.
- Braid. Cross the outer strands under the middle one, adding a thin pickup from the hairline each time.
- Finish the braid. When the hair behind the ear is too short to add, braid the last inch and fasten it with a small covered elastic.
- Hide the end. Tuck the end under and pin it with a mini pin.
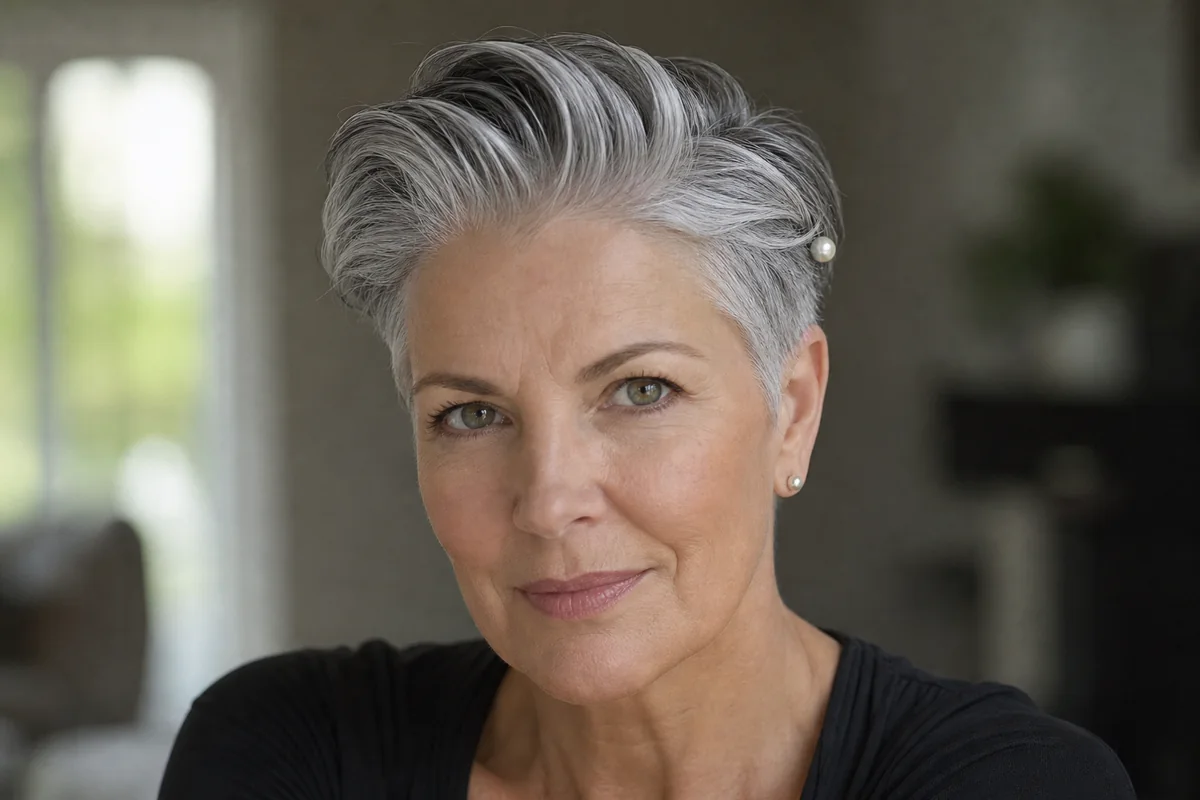
3. Slicked-Back Wet-Look Pixie with Side Pins
- Length needed
- 3 in on top
- Texture
- Straight, wavy or loose curl
- Time
- 5 minutes
- Difficulty
- Easy
- Occasion
- Event
A slicked-back finish is the formal option that needs no extra length, and gray hair takes it well because the shine sits clean on the silver.
- Wet. Start with damp hair and comb it back from the face to see where it falls.
- Gel. Work a pea-sized amount of gel through the top and front. Fine hair needs less, thick hair a little more.
- Part. Draw a deep side part with a rat-tail comb and sweep the larger side across.
- Pin. Pin the smaller side behind the ear with one pin, or add an ornamental pin. Let it dry before touching it.
Updos for a Chin-Length Bob (4-5 Inches at the Crown)
A chin bob can make a mini bun, a half-up knot or a low pony with the ends tucked, as long as the crown carries 4-5 inches and the nape is left to fall as it will. These looks gather the top and sides, not the whole head, and that is by design: a chin bob with a graduated back has too little nape hair to hold a full gather. Looks 7 and 8 are for curls and coils.
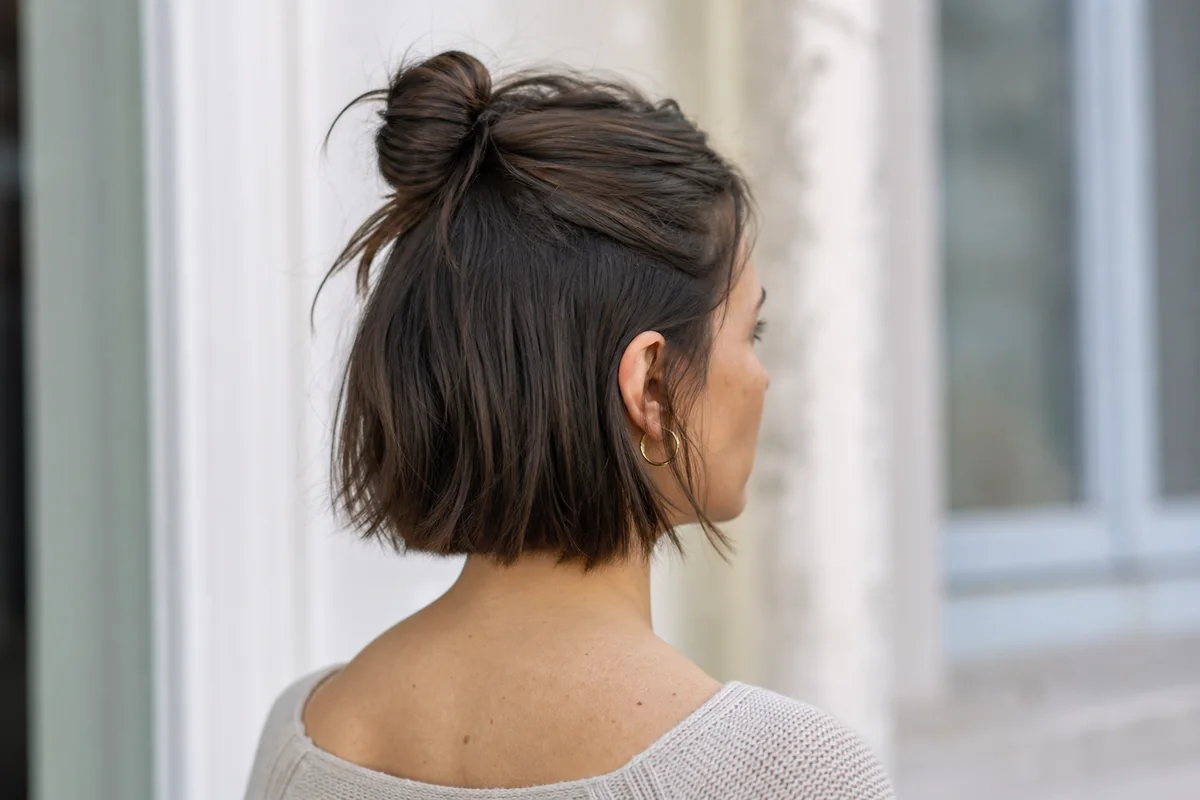
4. Messy Mini Bun at the Crown
- Length needed
- 4-5 in at the crown
- Texture
- Straight, wavy, curly
- Time
- 3-5 minutes
- Difficulty
- Easy
- Occasion
- Everyday
The messy bun works on short hair because messiness is its point; loose ends and a nub shape read as intended.
- Prep. Spritz the roots with texture spray, then gather the crown hair at the high point of the head, not at the back. The ends need room to loop.
- Tie. Secure a high ponytail with a covered elastic, pulling the hair through only twice so it stays loose.
- Loop. On the final pass, pull only part of the ends through, leaving a short loop and a tail.
- Pin. Spread the loop with your fingers and pin the tail flat with two crossed pins.
- Loosen. Tug a few strands at the temples and nape. Common mistake: pulling out so many that the bun falls apart.
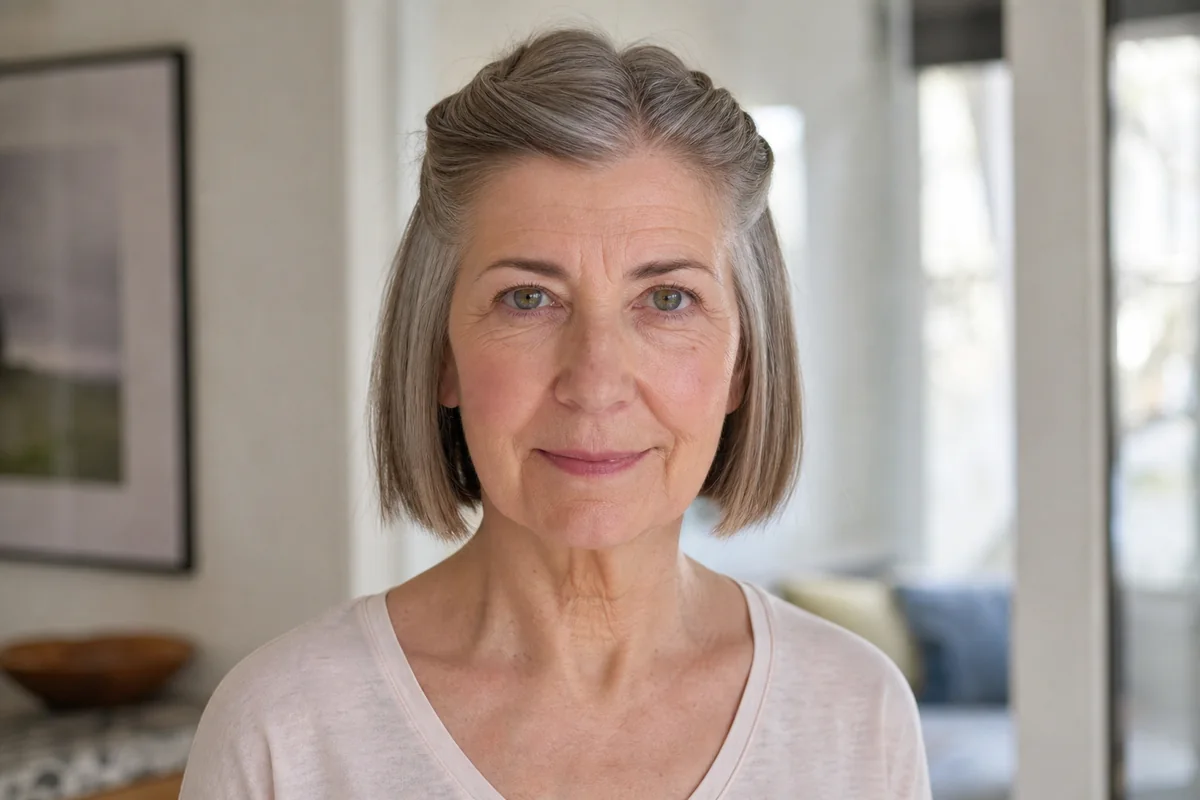
5. Half-Up Twist with Pinned Sides
- Length needed
- 4 in at the sides
- Texture
- Straight, wavy, fine or medium density
- Time
- 5 minutes
- Difficulty
- Easy
- Occasion
- Everyday or event, with an ornamental pin
For anyone whose nape is too short to hold a low tie, this is the safest updo, since it asks nothing of the back of the head.
- Part. Part the hair where it naturally falls, then take a 1-inch section above each ear.
- Twist. Twist each section toward the back, adding a thin pickup as you go if the hair allows.
- Cross. Meet the two twists at the crown and pin them in an X through the base of both.
- Lift. Pinch the twists with two fingers and tug outward slightly to widen them.
6. Low Pony with Tucked Ends
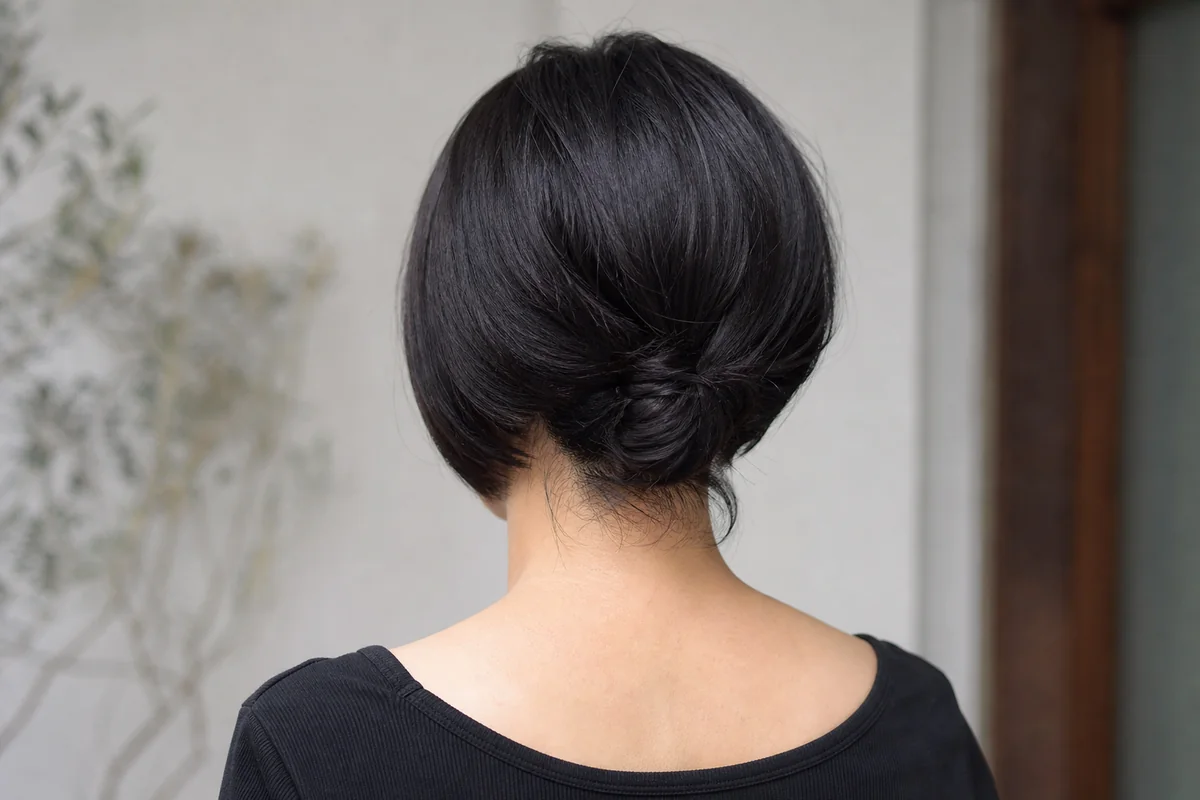
- Length needed
- 3 in or more at the nape, 4 in at the sides
- Texture
- Straight, thick; wavy with smoothing cream
- Time
- 5-7 minutes
- Difficulty
- Easy
- Occasion
- Everyday or office
This is the style that tests the nape. Where the cut is tapered, the nape will leave a fringe of loose hair below the tie, which looks deliberate if the sides are smooth and untidy if everything else is.
- Gather. Collect the hair at the nape and tie it with a covered elastic, leaving any hair that does not reach out of the tie.
- Roll. Fold the tail upward against the head so it makes a short loop under the elastic.
- Pin. Pin the loop with two U-shaped pins, one on each side.
- Tidy. Smooth the loose nape hairs with a bit of hairspray on a clean toothbrush. Common mistake: pulling the short nape hairs into the tie, where they poke out.
7. Curly Pineapple Puff on a Chin-Length Cut
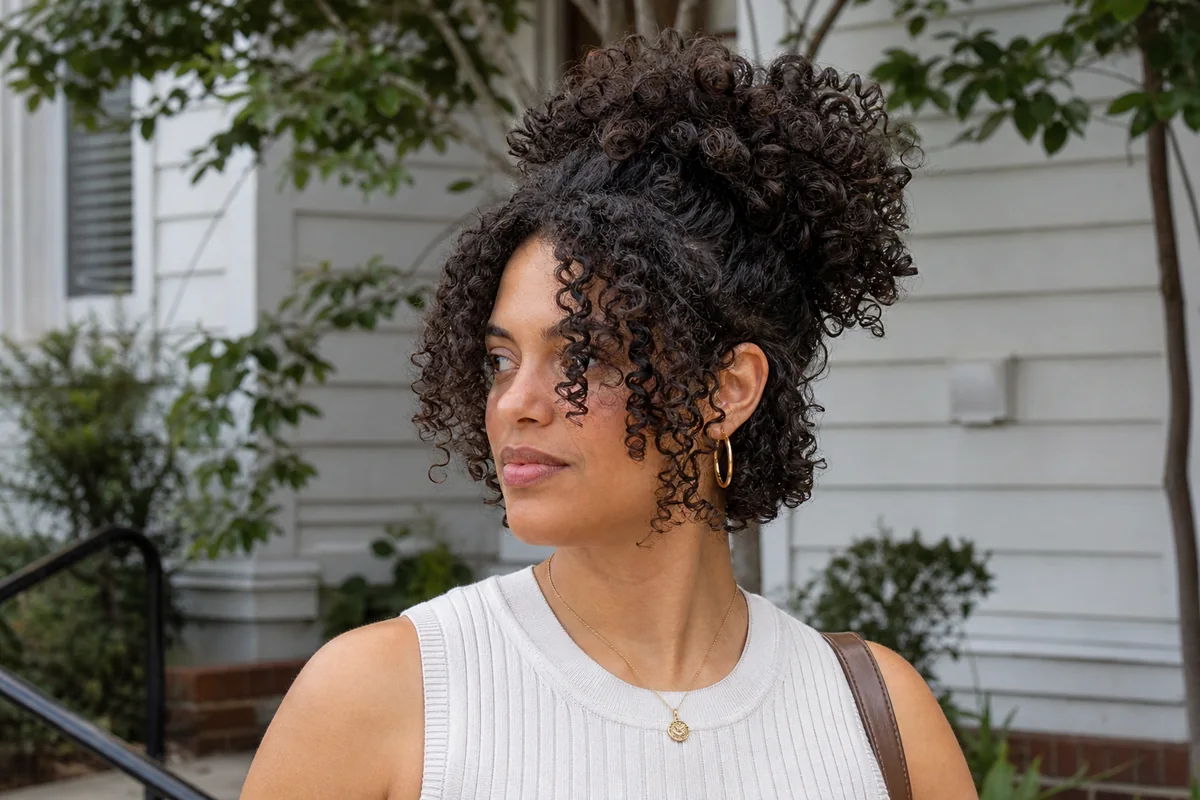
- Length needed
- 3-4 in when stretched straight (a curly bob usually qualifies)
- Texture
- 3A-4A curls and coils
- Time
- 3-5 minutes
- Difficulty
- Easy
- Occasion
- Everyday, sleep, workouts
A pineapple is a very loose, very high ponytail gathered at the crown, with the curls falling forward like the top of the fruit. It preserves a defined curl pattern because nothing is flattened, and it gets around the usual problem that a curly cut has little length once the curls shrink.
- Start refreshed. Mist the curls with water and a little leave-in cream, or use second-day curls. Dry curls frizz when handled.
- Flip. Bend forward and gather the hair at the top of the head with your hands, not a brush.
- Tie loosely. Secure it with a wide covered elastic or scrunchie, with one loop, no tight wraps.
- Fluff. Pull the curls out gently at the crown with a pick or your fingers to widen the puff.
8. Coily Flat-Twist Updo
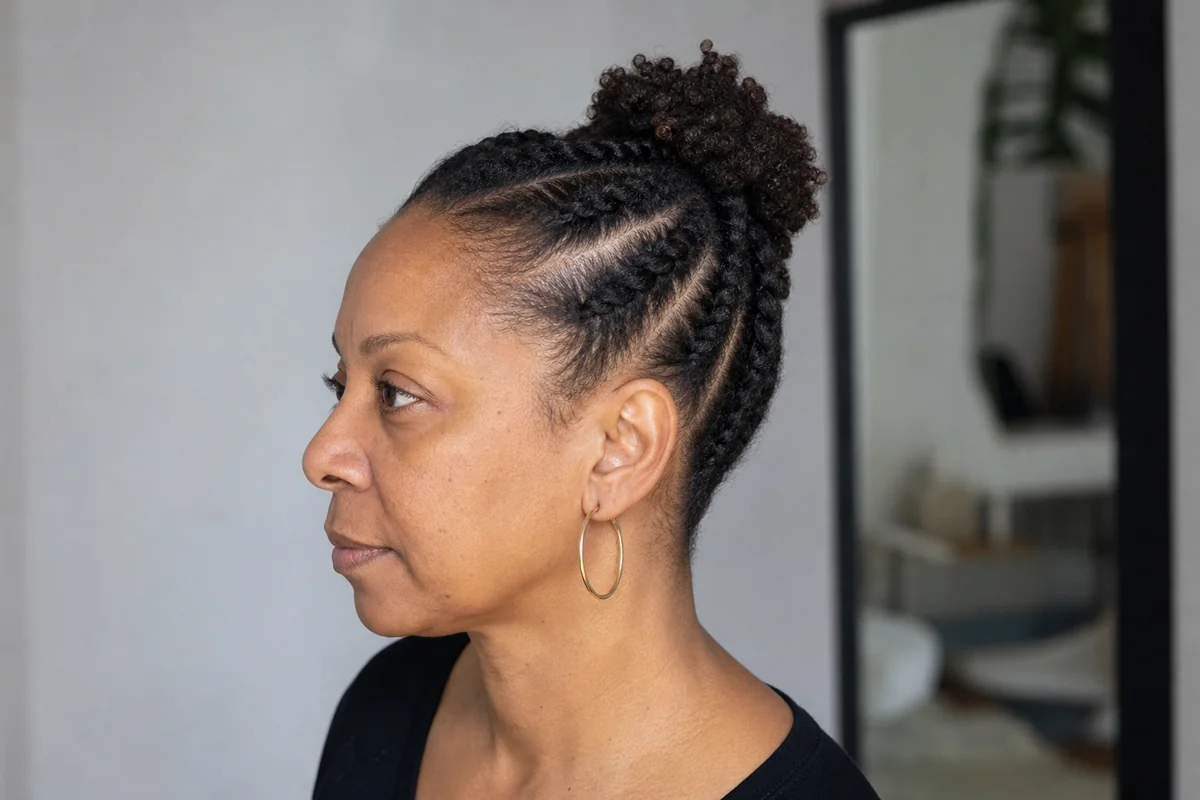
- Length needed
- 3-4 in stretched, usually 1-2 in of shrunken length
- Texture
- 4A-4C coils; 3C curls
- Time
- 25-40 minutes
- Difficulty
- Moderate
- Occasion
- Event; holds several days
For coily hair, a flat twist is the structural base, the equivalent of the braided hairline on straight hair. A twist-out set the night before, taken down and pinned into a crown, gives a looser version.
- Moisturize. Start on damp, stretched hair with a water-based leave-in and a cream or a light butter to seal. Dry coily hair breaks when twisted.
- Part. Part six sections front to back with a rat-tail comb, each about an inch wide.
- Twist. Two-strand twist each section flat against the scalp, adding hair from the side as you go.
- Finish. At the crown, continue as a regular two-strand twist to the ends and secure with a small covered elastic or leave as a free twist.
- Gather. Gather the ends into a puff or pin them up with mini pins. For a twist-out, unravel dry twists and pin the loose hair.
Updos for a Lob (Shoulder Line at the Nape)
A lob holds a real bun, a short French twist or a braid, as long as the nape hair reaches the shoulder line when held straight. That is the point at which twisting becomes possible, because there is enough hair to wrap, loop or braid and still pin. A long bob that has been cut shorter at the back may fall a little under the minimum, so check by lifting the back hair straight.
9. Low Looped Bun
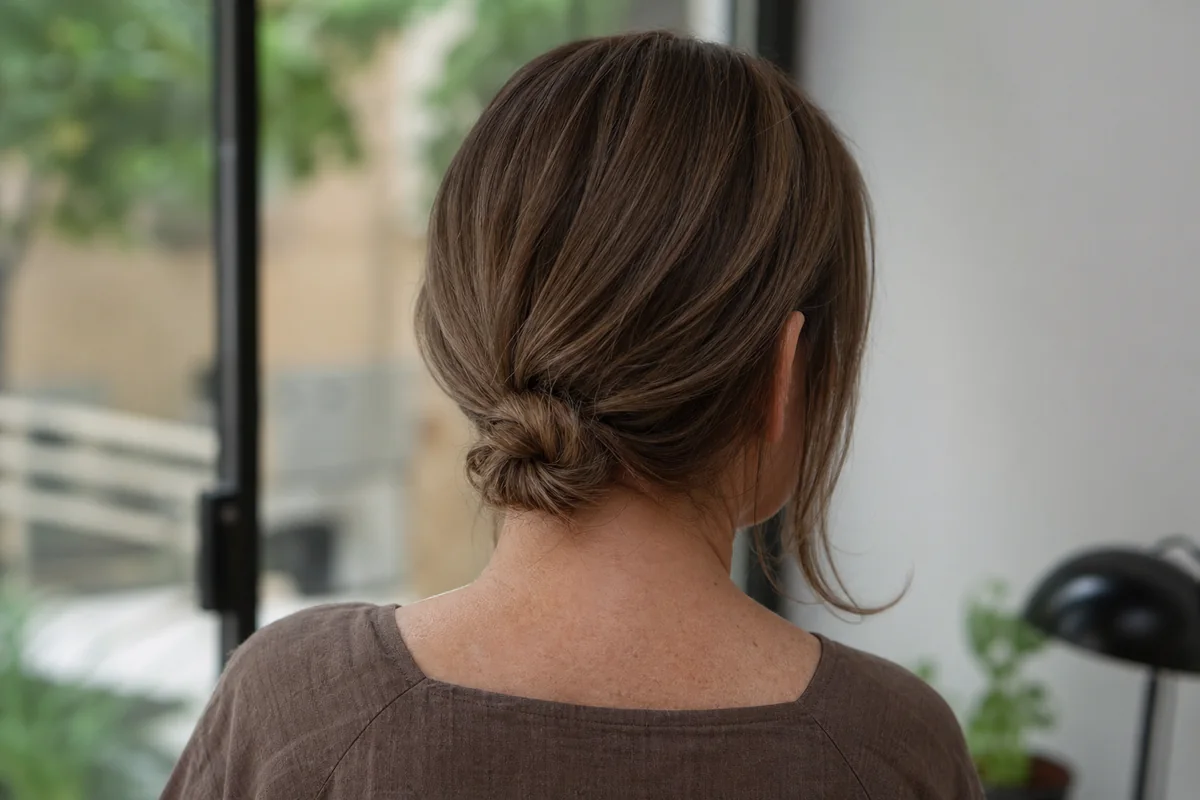
- Length needed
- 6-8 in at the nape
- Texture
- Straight, wavy, curly
- Time
- 5 minutes
- Difficulty
- Easy
- Occasion
- Everyday or event
A looped bun uses ends that are too short for a coiled bun, because the hair is folded back on itself rather than wound.
- Tie low. Gather a low ponytail at the nape and secure it with a covered elastic, leaving 2 inches of tail.
- Loop. On the last pass of the elastic, pull the tail only halfway, so the ends make a loop.
- Pin. Spread the loop and secure it with a U-shaped pin from the side.
10. Short French Twist
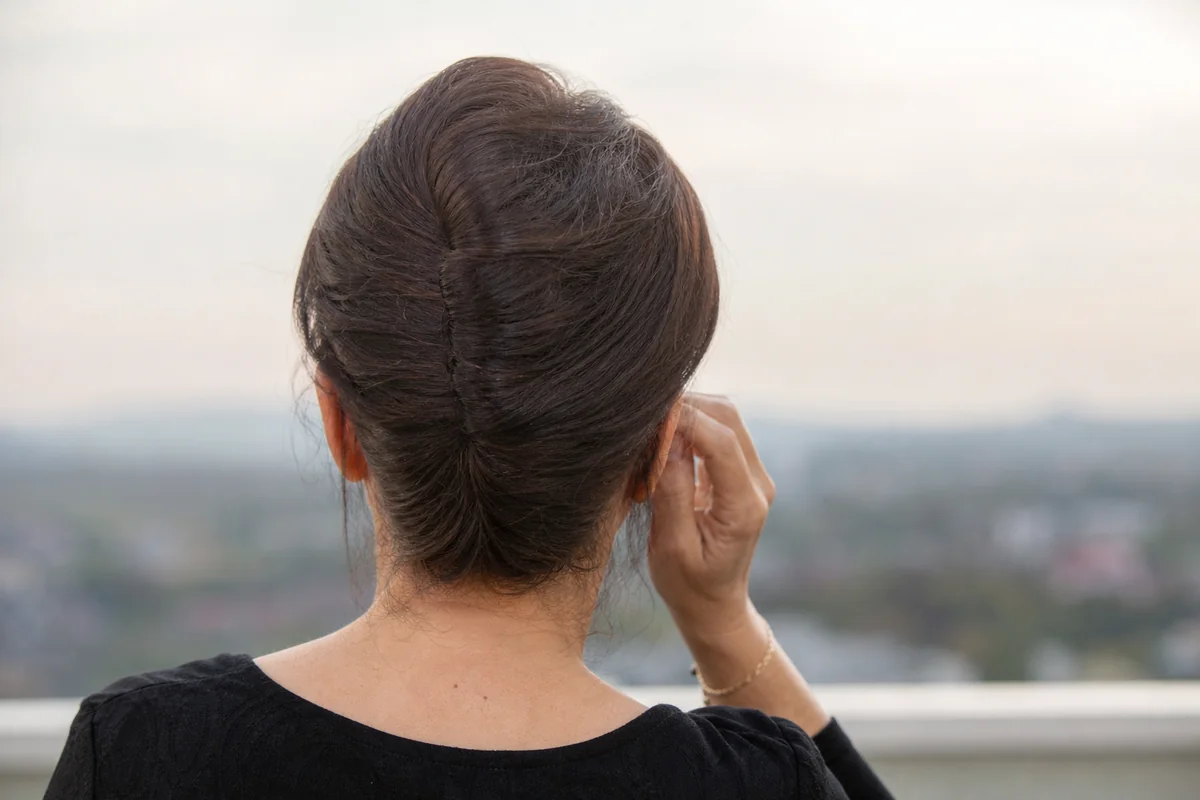
- Length needed
- 7-8 in at the nape
- Texture
- Straight or wavy; curls need a smoothing base
- Time
- 10 minutes
- Difficulty
- Moderate
- Occasion
- Event
The French twist is the longest style in this guide, and the one most likely to fail on a lob that stops above the shoulders.
- Smooth. Prepare the hair with a light mousse and tease the crown lightly for height.
- Gather. Hold all the hair at the back with one hand, as if making a ponytail without the elastic.
- Roll. Twist the hair upward, rolling it toward the head until the ends tuck inside the roll.
- Pin. Pin down the length of the roll on the inside edge, crossing pins in pairs from the top to the bottom.
- Finish. Bring a little hair down at the temples. Common mistake: tucking the ends too deep so they fall out.
11. Braided Low Pony with a Wrapped Base
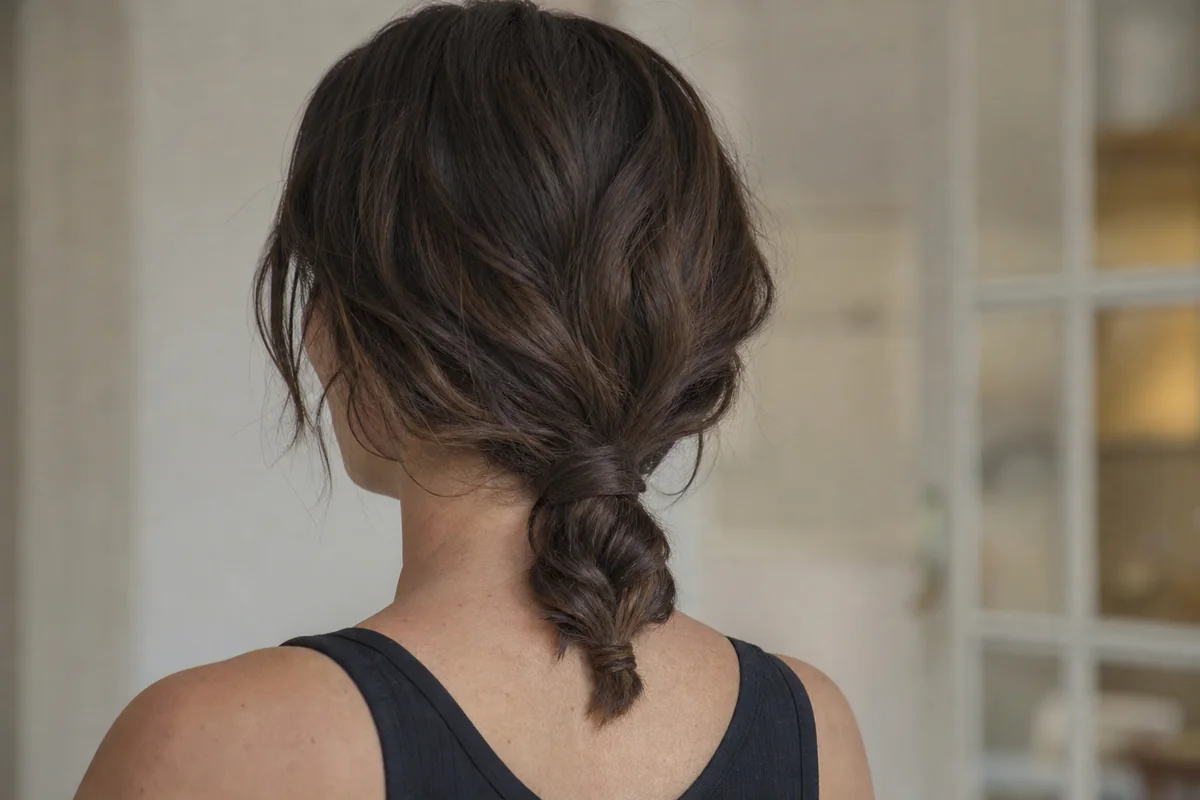
- Length needed
- 7 in or more at the nape
- Texture
- Wavy, curly, thick straight
- Time
- 8 minutes
- Difficulty
- Moderate
- Occasion
- Everyday or event
This is the answer to how to braid short hair when the hair is lob-length: a three-strand braid in a low tail, with the elastic covered by a wrapped strand.
- Divide. Divide the tail into three equal strands and braid to about 1 inch from the end.
- Tie. Secure the end with a small clear elastic and pull the braid apart slightly to widen it.
- Wrap. Take a thin strand from the underside of the tail, wrap it around the first elastic and pin it with a mini pin.
12. Pin-Curl Updo with Soft Waves
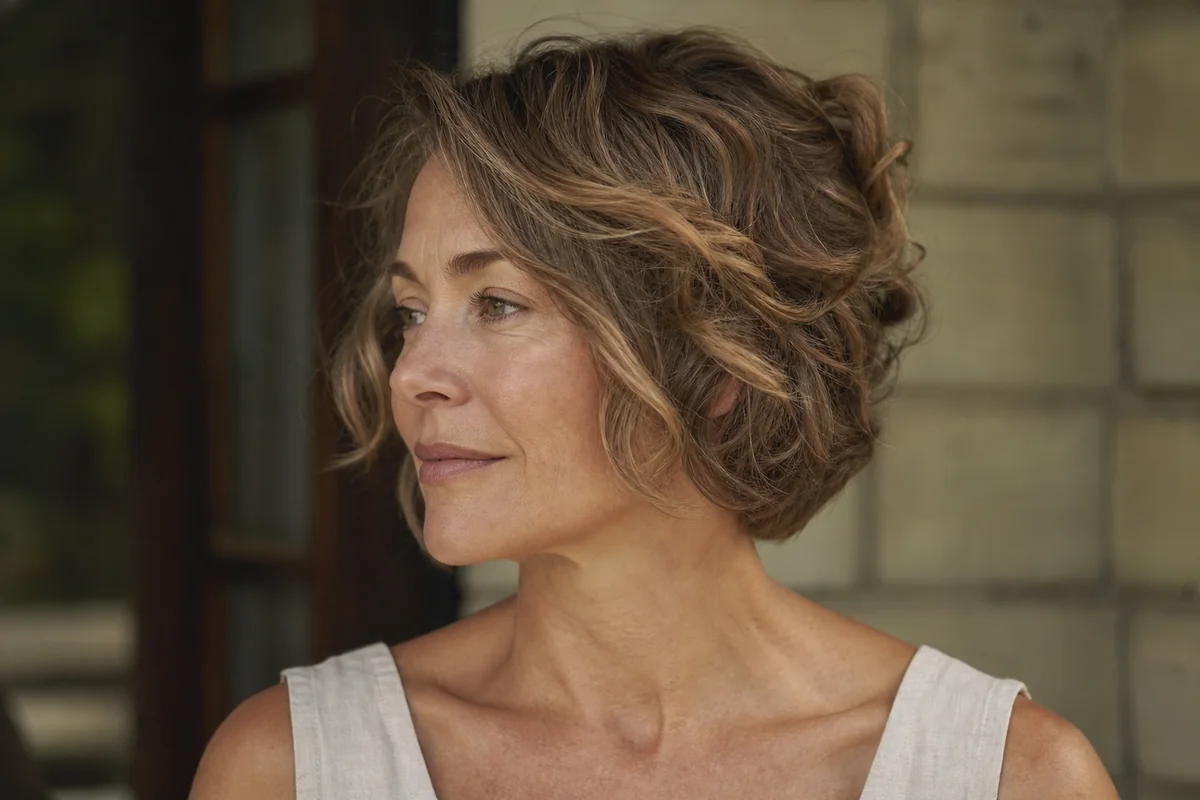
- Length needed
- 7 in at the nape, 6 in at the sides
- Texture
- Straight to wavy; fine hair needs a setting mousse
- Time
- 25-30 minutes plus drying
- Difficulty
- Moderate to hard
- Occasion
- Wedding and formal events
Pin curls are the classic wedding-style updo for short hair, since each curl is its own small unit and needs little length.
- Set. On damp hair with mousse, wind 1-inch sections around a finger, flat to the head, and clip each curl.
- Dry. Let the curls dry completely, or use a diffuser on low heat. A damp curl falls flat.
- Cluster. Pin the back curls up at the crown with mini pins, tucking the ends under.
- Finish. Leave a few waves at the sides and set with a flexible spray, held at arm's length. Common mistake: brushing out the curls, which turns them to frizz.
Texture and Density Change the Method, Not Just the Pins
Fine hair needs grip, thick hair needs weight management, and curly and coily hair needs moisture and low tension. The same twelve looks work across textures with the adjustments below. The cutting side is covered in the short curly hair guide and the thin hair page.
| Hair | What goes wrong | Approach | Best looks |
|---|---|---|---|
| Fine, straight | Pins slide out; ponytails slip | Day-two hair or dry texture spray; mini pins; fewer, smaller sections | 5, 9, 12 |
| Thick, straight | Bulk springs out of pins; buns look heavy | Full-size pins in crossed pairs; U-pins; smooth the sides; a smaller loop than looks natural | 4, 6, 11 |
| Wavy | Waves frizz when brushed; sleek styles resist | Work with the bend; a little cream; pin on dry hair | 2, 9, 11, 12 |
| Curly (3A-3C) | Curls shrink and tangle; tight ties disrupt the pattern | Pineapple, loose puffs, covered elastics, moisture before and after | 7, plus 4 loosely |
| Coily (4A-4C) | Dry hair snags and breaks; shrinkage leaves very little visible length | Flat twists, twist-outs, puffs, Bantu knots on stretched hair; moisturize first | 8, plus 7 |
Twist-Outs and Bantu Knots Are Ways to Stretch Short Coils
For coils, length is a visual result of stretching, which is why twist-outs, braid-outs and Bantu knots belong in an updo guide. A twist-out set on damp hair, dried fully and taken down gives stretched, defined texture that pins into a crown or puff. Bantu knots, coiled sections held with a pin or small elastic, need about 3-4 inches of stretched hair per knot.
Event and Everyday Versions of the Same Updo
The event version of an updo is the everyday one with more prep, firmer hold and one finishing detail. For a wedding, book a trial on the length you will have on the day.
| Look | Everyday | Event |
|---|---|---|
| Messy mini bun | Texture spray, one elastic, two pins | Add a second set of pins on the other side, a flexible spray and an ornamental pin |
| Half-up twist | Two pins, hair left down | Pin the twists with four mini pins, curl the loose hair, add a clip or comb |
| Low looped bun | One U-pin, loose face pieces | Smooth with gel at the crown, pin on both sides, hide the elastic with a thin wrapped strand |
| Wet-look slick-back | Pea of gel, comb and go | Two layers of gel, defined part, one ornamental pin |
Keeping Short Layers and Nape Hair from Falling Out
Short layers fall out because they are too short to wrap and too light to hold a pin, and the fix is nearly always more grip and fewer expectations. Layers cut for a short layered cut or a short shag sit at different lengths, so the shortest ones will always escape any gather.
A Pin on Slippery Hair Slides Out Within the Hour
Prep hair so there is something to grip: day-two hair, dry shampoo at the roots, or dry texture spray. On very slippery fine hair, a quick spritz of hairspray across the pin before sliding it in adds friction. Insert pins with the ridged side down and push them fully in.
Leave Out Hair That Is Under About 2 Inches
The hair at the nape, behind the ears and at the hairline is often too short to reach. Work a small amount of cream or gel through the loose hairs and smooth them with a toothbrush, or leave them as a soft frame. Pulling them into the style makes them spring out, which is the most common complaint with short updos.
Salon note: If you wear updos often, tell the stylist before the cut. Leaving the crown and the nape a little longer, about half an inch, and keeping the layers soft rather than short, gives the pins more to hold. See the short haircut length guide for the options.
When an Updo Is Not the Right Choice
- The hair is under about 3 inches everywhere. A crop or a short pixie has nothing to pin. Use a slicked finish, a headband or a clip instead, as covered in the pixie cut guide.
- The nape is clippered or undercut and you want a low style. Nothing will reach a low tie. Choose a half-up or a crown style, or let the nape grow for several months.
- The scalp is sensitive or the hairline is thinning. Pulling hair back can aggravate it. Pick loose, pinned styles with no elastic at the hairline, and see a board-certified dermatologist for any new or sudden shedding.
- The hair is dry, brittle or newly chemically treated. Twisting and pinning stress strands that are already fragile. Wait, condition and choose a looser style.
- The style needs more than 30 minutes and the schedule has 5. Choose one of the easy looks above, or book a stylist for an event.
Updos for short hair succeed when the style is chosen for the length the hair already has, not the length the photo shows. Measure the crown and the nape first, pick the first look in the matching section, and try it on day-two hair a week before any event. If one look keeps slipping, move one section up the page to a style that needs less length.